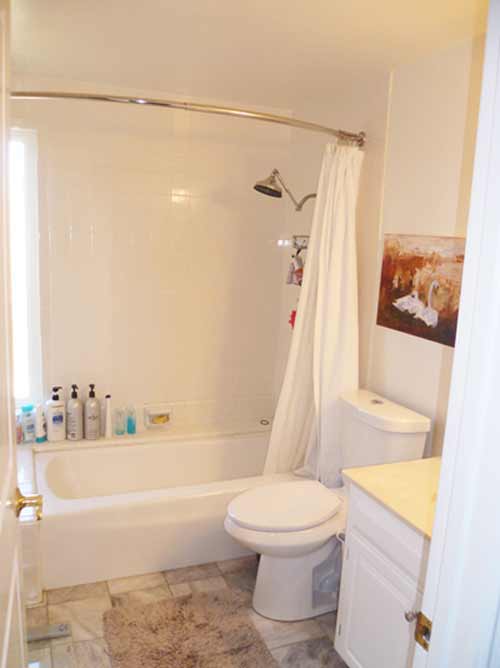
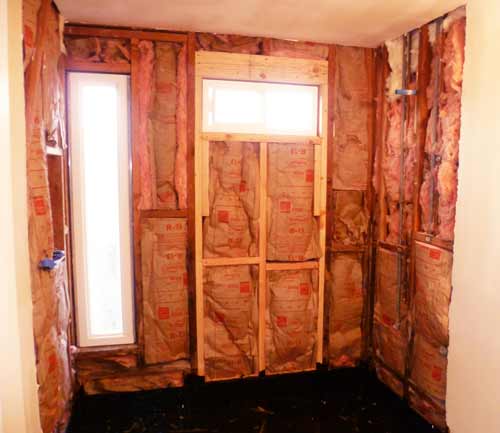
Tub / Shower combo "before" |
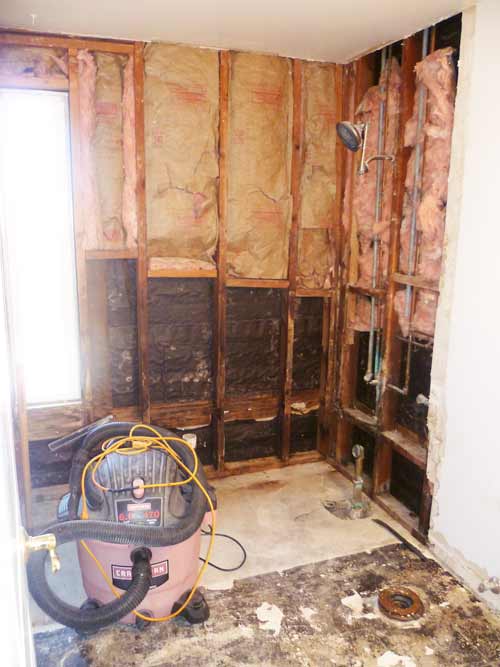
After Demo |
![](../assets/photos/Becky Griffin Mary shower/Anatomy of shower/becky-shower-b4.jpg) |
![](../assets/photos/Becky Griffin Mary shower/Anatomy of shower/becky-after-demo2.jpg) |
|
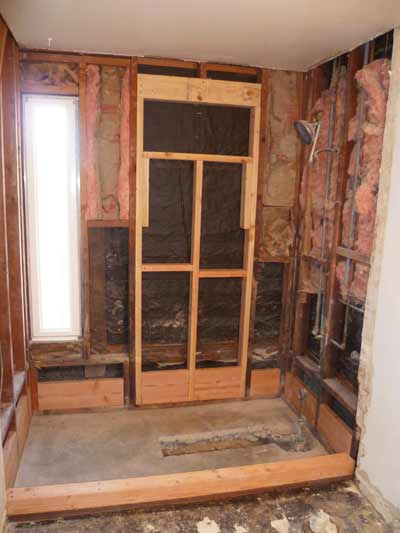
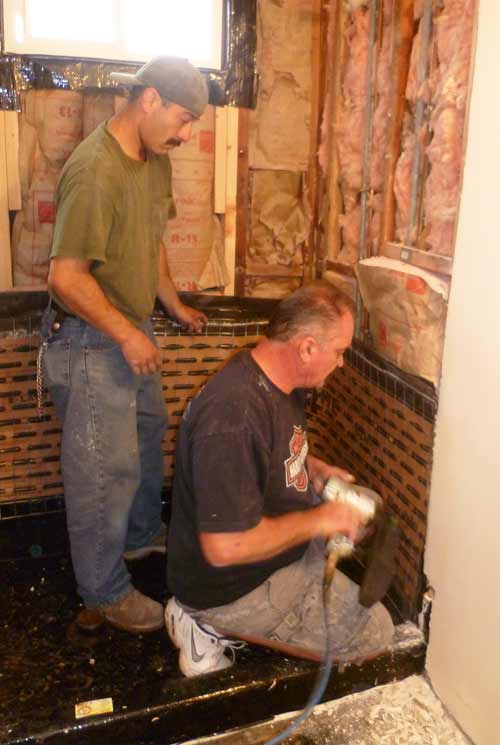
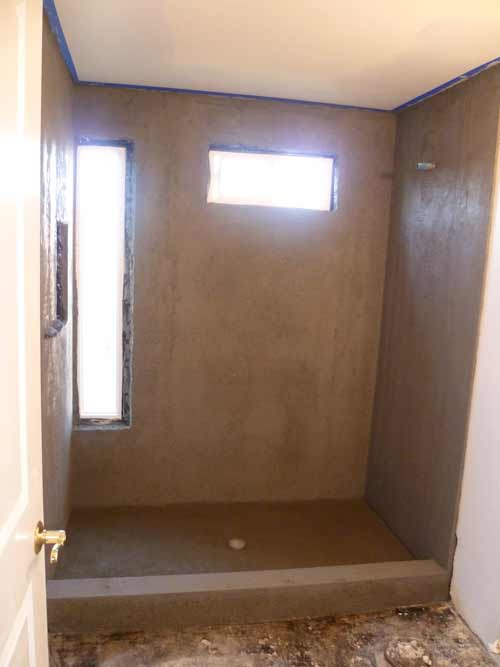
Concrete is cut to relocate new drain, dam is built
and framing is installed for new window |
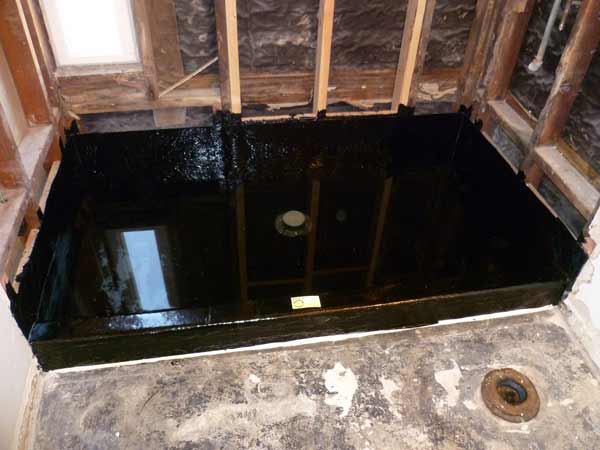
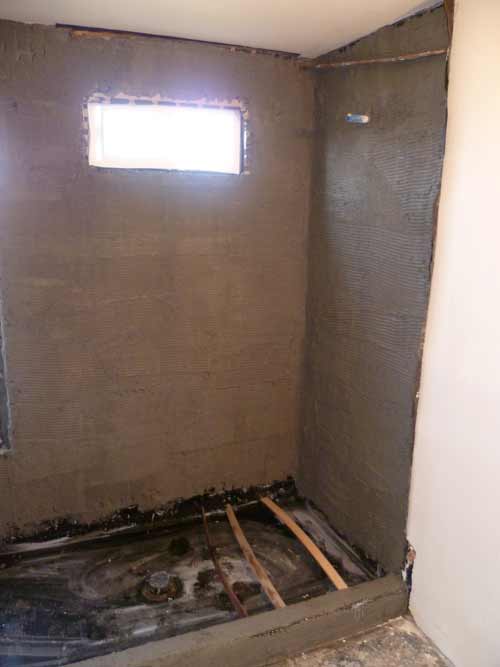
We "hot mop" our pan, a procedure using tar paper and hot tar,
guaranteeing
many years of leak free service. The pan is then filled
with water and sits overnight to test for leaks to be sure it's water-tight |
![](../assets/photos/Becky Griffin Mary shower/Anatomy of shower/Becky-shower-window-framing-in.jpg) |
![](../assets/photos/Becky Griffin Mary shower/Anatomy of shower/Becky-shower-hot-mop-water-test.jpg)
|
|
New valves are installed and we raised the shower head.
In this case, the handles were moved to the opposite
side of the shower. Insulation is also installed |
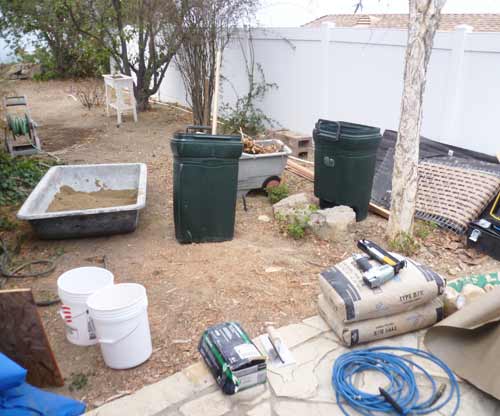
Setting up for the next steps... |
![](../assets/photos/Becky Griffin Mary shower/Anatomy of shower/Insulation-in.jpg) |
![](../assets/photos/Becky Griffin Mary shower/Anatomy of shower/set-up.jpg) |
|
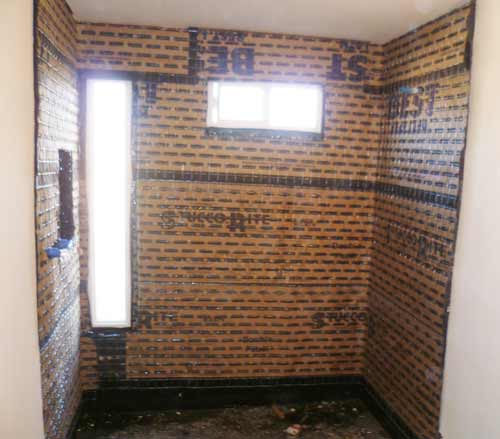
A water proof paper is installed integrated with wire mesh
in preperation of the "floating" of the walls with cement |
Wire and paper installation completed |
![](../assets/photos/Becky Griffin Mary shower/Anatomy of shower/begin-wire-mesh.jpg) |
![](../assets/photos/Becky Griffin Mary shower/Anatomy of shower/wire-mesh-in.jpg) |
|
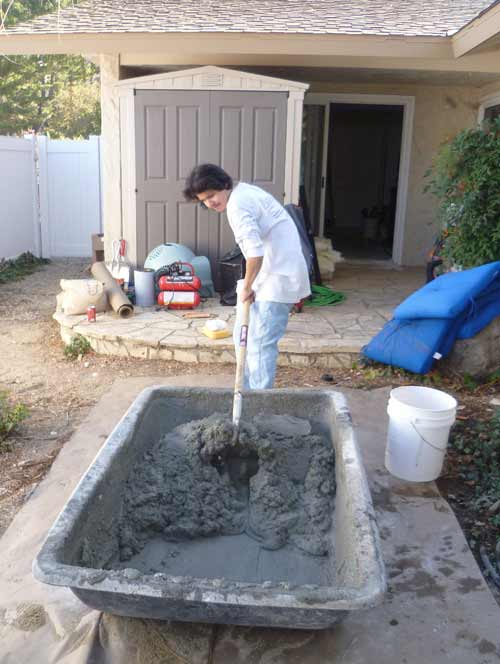
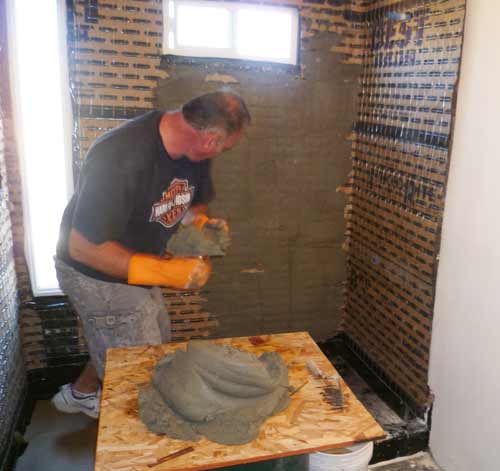
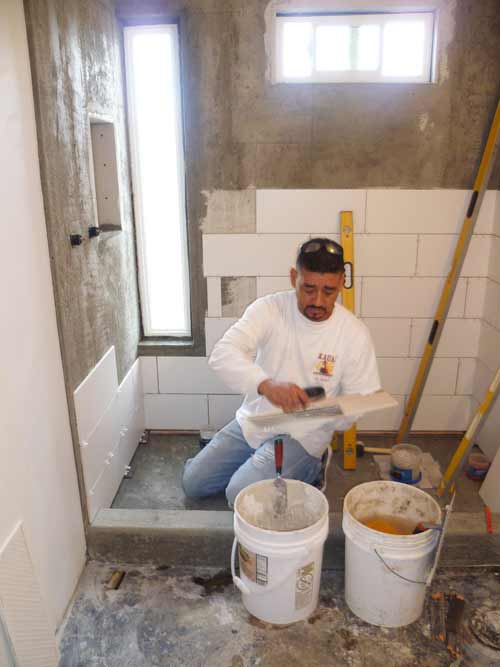
Mixing the "mud" in preperation of floating the walls |
The first coat of cement is referred to as the "scratch" coat |
![](../assets/photos/Becky Griffin Mary shower/Anatomy of shower/mixing-mud.jpg) |
![](../assets/photos/Becky Griffin Mary shower/Anatomy of shower/begin-scatch-coat.jpg) |
|
Scratch coat finished. If you look close you may be able to
see the lines which are scrached into the first coat of cement |
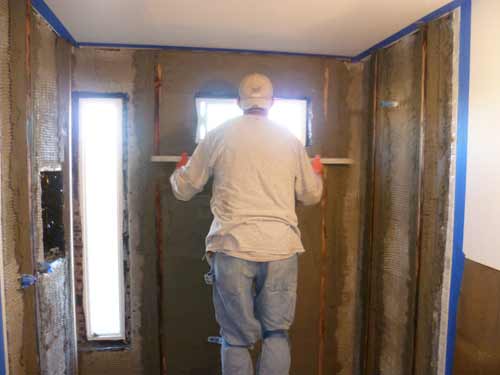
Once the first coat dries, the "brown" coat is applied. This second
coat is applied in a manner which assures plumb and flat surfaces |
![](../assets/photos/Becky Griffin Mary shower/Anatomy of shower/scratch-coat-finished.jpg) |
![](../assets/photos/Becky Griffin Mary shower/Anatomy of shower/beginning-brown-coat.jpg)
|
|
Brown coat finished |
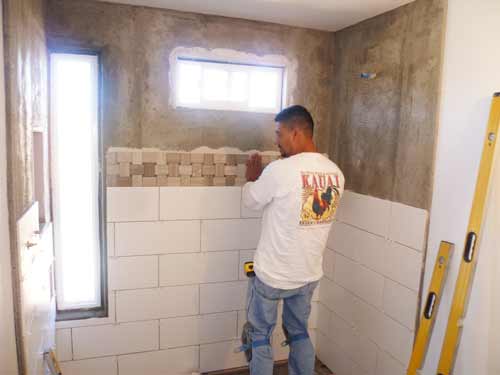
Once brown coat is dry, the tile begins to be installed |
![](../assets/photos/Becky Griffin Mary shower/Anatomy of shower/brown-coat-finished.jpg) |
![](../assets/photos/Becky Griffin Mary shower/Anatomy of shower/beginning-tile.jpg) |
|
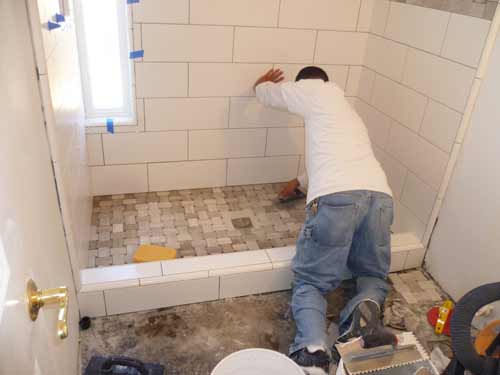
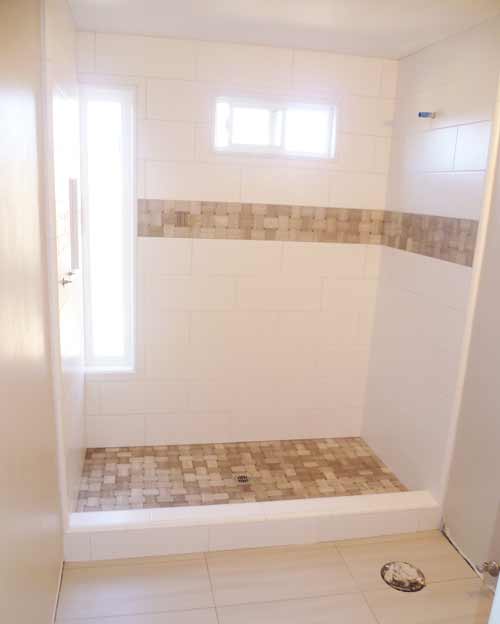
In this design, a decorative ribbon is applied |
The design is also incorperated in the floor |
![](../assets/photos/Becky Griffin Mary shower/Anatomy of shower/installing-ribbon.jpg) |
![](../assets/photos/Becky Griffin Mary shower/Anatomy of shower/tiliing-floor.jpg) |
|
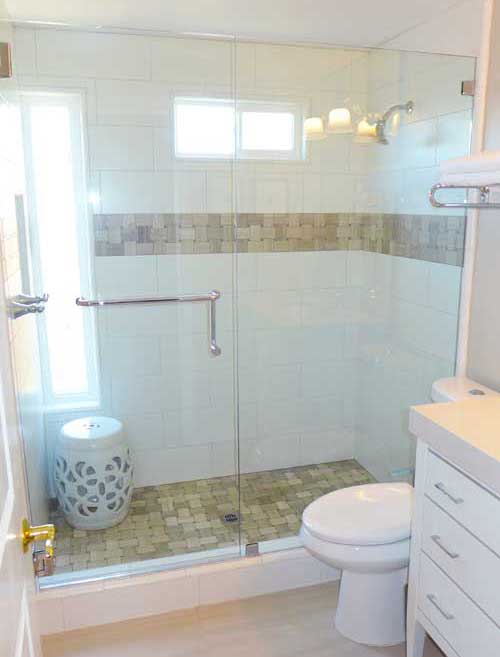
The tile is finished, grouted and sealed |
This bathroom remodel is finished and a beautiful transformation |
![](../assets/photos/Becky Griffin Mary shower/Anatomy of shower/finished-shower.jpg) |
![](../assets/photos/Becky Griffin Mary shower/Anatomy of shower/Becky-Shower-Progressive-After2.jpg) |
Top |